The 3D model used in this example can be found here. [**Download Link**](https://simlab-soft.com/help/attachments/3)
#### First: Go to your desktop (windows or macOS). **1-** Download and Install** [SimLab VR Studio](https://www.simlab-soft.com/3d-products/vr-studio.aspx)**, then open it. [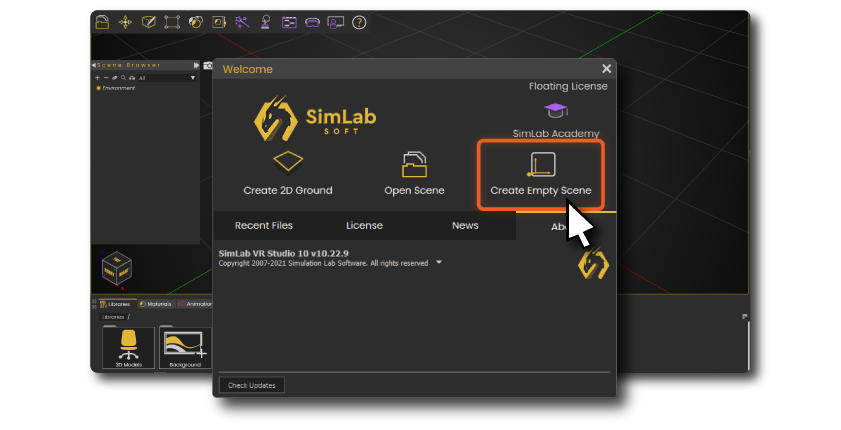](https://simlab-soft.com/help/uploads/images/gallery/2022-02/introduction-empty.png) **2-** Drag and drop your 3D/CAD model(s) into the scene. You can import pretty much all industry standards 3D/CAD file formats, check the full supported file formats list **[here](https://www.simlab-soft.com/3d-products/vr-studio-supported-3d-formats.aspx)**. [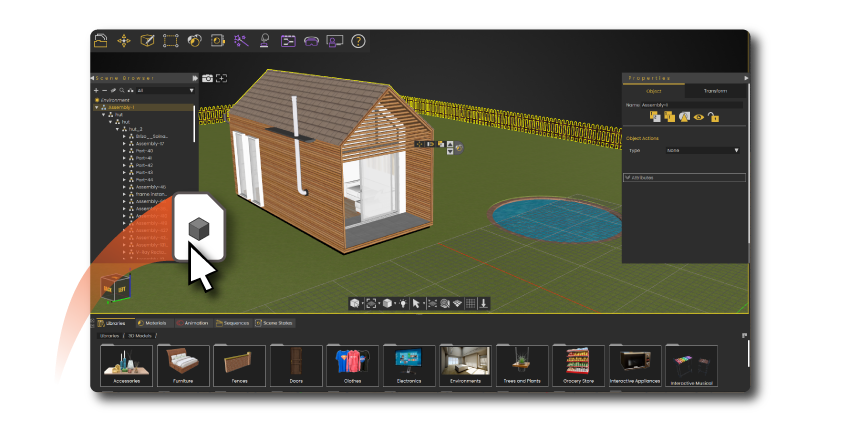](https://simlab-soft.com/help/uploads/images/gallery/2022-02/introduction-copy-11.png) **3-** Define the starting position of the VR Experience. The start position defines the location where the viewer is going to start the experience, you can position it wherever you want. [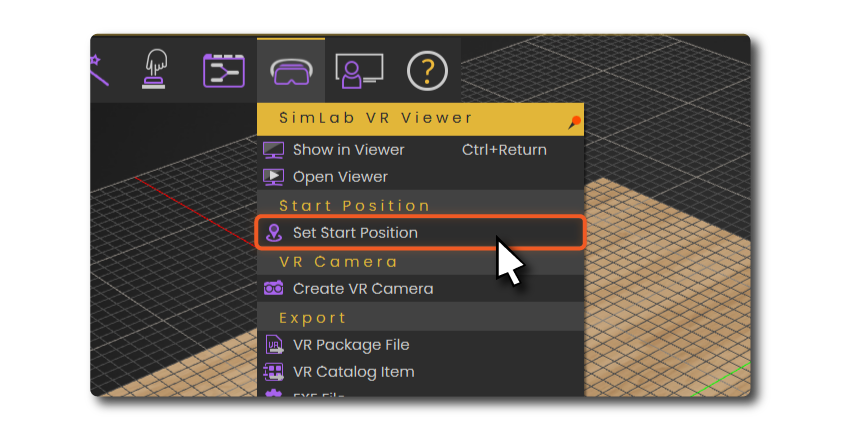](https://simlab-soft.com/help/uploads/images/gallery/2022-01/introduction-copy-2.png)You can test the VR scene before sharing it to the oculus quest on desktop. Go to **VR Viewer > Show in Viewer > Desktop**.
**4-** Share the VR Experience to SimLab Cloud, go to **VR Viewer > Show in Viewer > Standalone VR**. [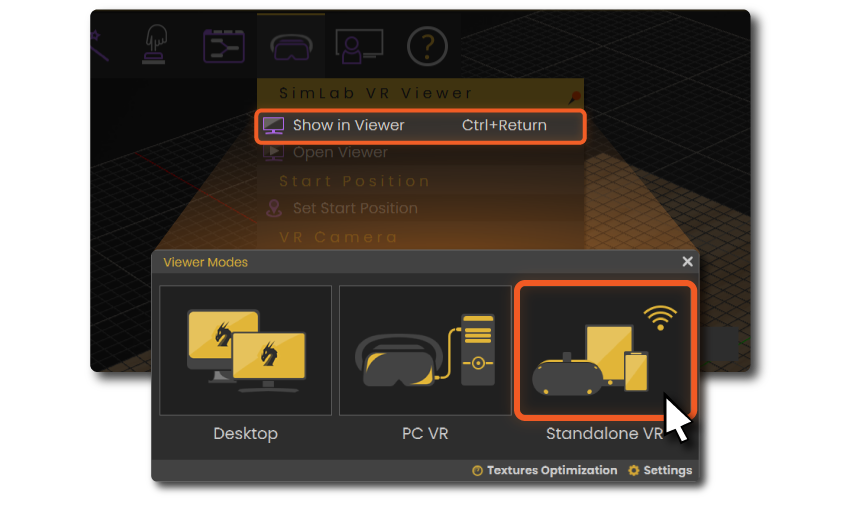](https://simlab-soft.com/help/uploads/images/gallery/2022-02/standalone-vr.png) You need to **sign in** to an active SimLab account if you are not already.[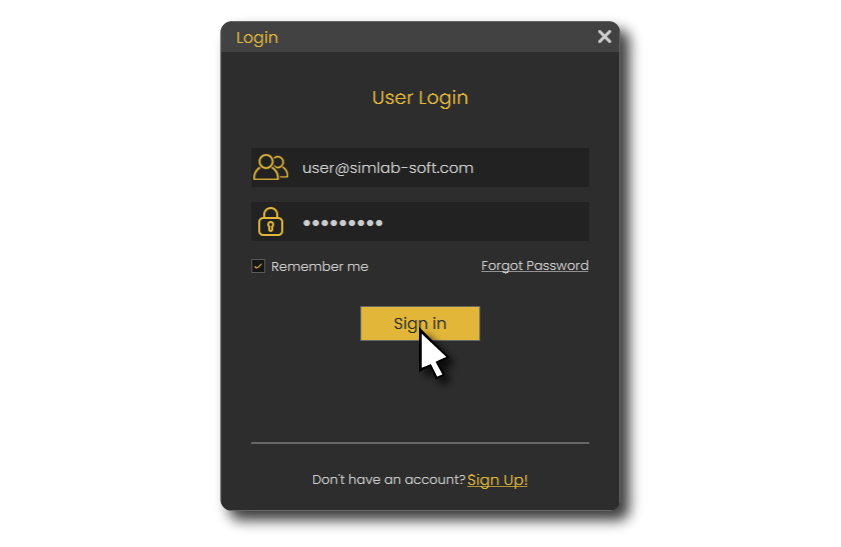](https://simlab-soft.com/help/uploads/images/gallery/2022-02/sign-in.png) Fill out the information then click on **Upload to My Account.** [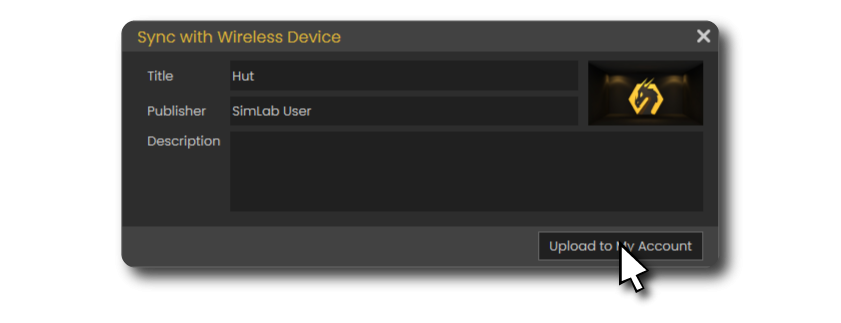](https://simlab-soft.com/help/uploads/images/gallery/2022-02/upload.png) It will take few moments then it should say that its **Uploaded Successfully.** [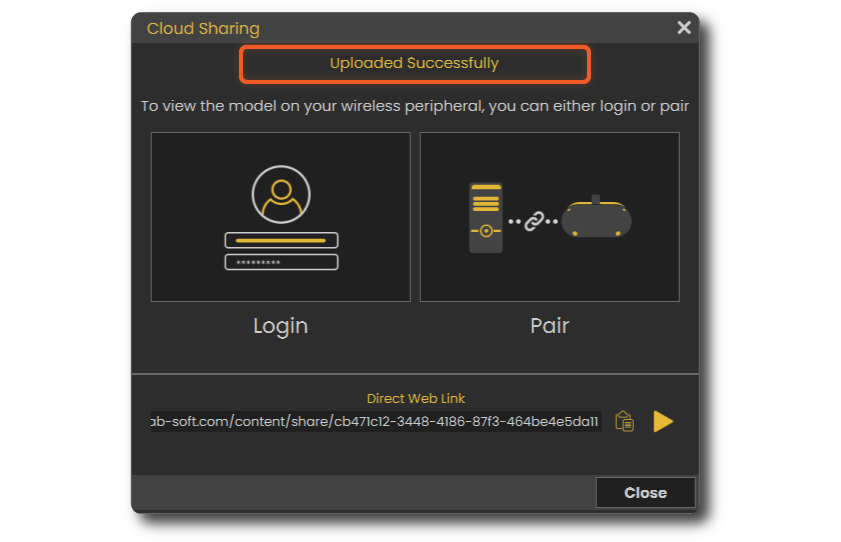](https://simlab-soft.com/help/uploads/images/gallery/2022-02/upload-copy.png) ##### You can learn how to enhance the quality by enabling shadows on the Oculus quest[ **here**.](https://simlab-soft.com/help/link/118#bkmrk-page-title) #### Second: Go to your Oculus Quest device. Now the VR scene is uploaded and synced on your SimLab account, all you have to do is to open your account on the oculus quest and you will be able to access the VR Experience. **1-** **Download**[ SimLab VR Viewer for Oculus Quest.](https://www.simlab-soft.com/technologies/simlab-oculus-quest.aspx) **2-** Open the app, then **sign in** to your SimLab account. **3-** You will find the VR Experience under **My Models** tab. [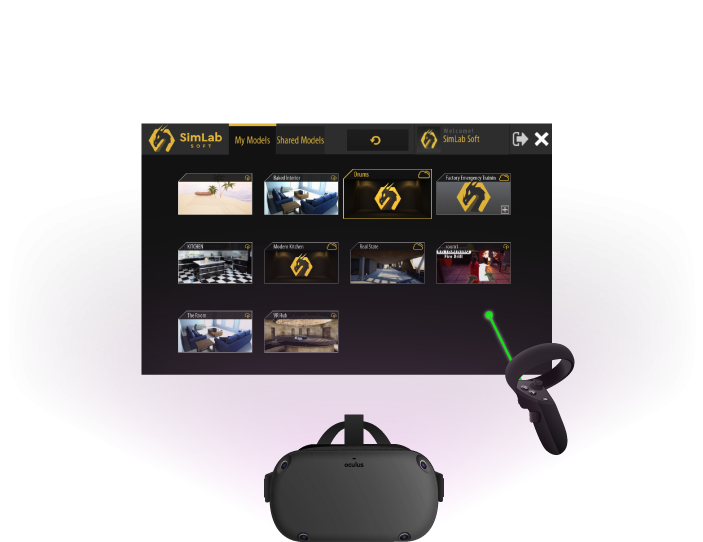](https://simlab-soft.com/help/uploads/images/gallery/2022-02/asset-13.png)