
Installing SimLab VR Viewer
 |
This chapter guides you through installing the SimLab VR Viewer on your Vive XR Elite Device. SimLab VR Viewer is a free, essential cross-platform application required to run, view, and participate in VR experiences, including collaboration sessions and viewing shared SimLab VR packages (.vrpackage files). |
Installation Method: Via Installation Manager (PC/Mac & Cable)
-
Request Access: Go to the official SimLab VIVE XR page.
-
Get Installer: Click the "Get it Now" button, fill in your information (Name, Email, Industry), and you will be directed to the download page. Download the SimLab VR Viewer Installation Manager for Vive XR for your operating system (Windows or macOS).
-
Configure Headset for Sideloading (One-Time Setup):
-
Put on the VIVE XR Elite headset.
-
Go to Settings > Advanced > and enable Allow unknown apps.
-
Go to Settings > Advanced > Developer options > and enable USB debugging.
-
-
Connect Headset: Connect your VIVE XR Elite headset to the PC or Mac using a USB-C cable.
-
Allow Debugging: Put on the headset, wait for the confirmation message, and Allow the USB Debugging prompt to establish a connection.
-
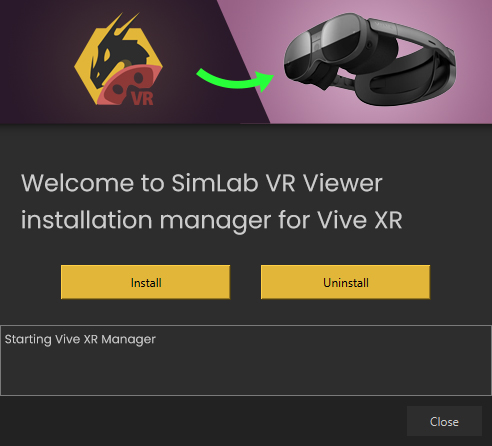
Install App: Run the downloaded Installation Manager on your computer. Click the (Install) button within the manager to sideload the VR Viewer application onto your VIVE XR Elite.
-
Locate App: After installation is complete, find and launch the app on your VIVE XR Elite by navigating to the appropriate section for sideloaded or unknown sources applications (typically found in the Library or All Apps section under a filter like Unknown source).
Account Sign In:
-
In your VIVE XR Elite headset, launch the SimLab VR Viewer application.
-
Select Sign In and use your VIVE controllers to enter your SimLab account email and password.
No Comments